How to Make Savory Bread That’s Soft on the Inside and Crispy on the Outside
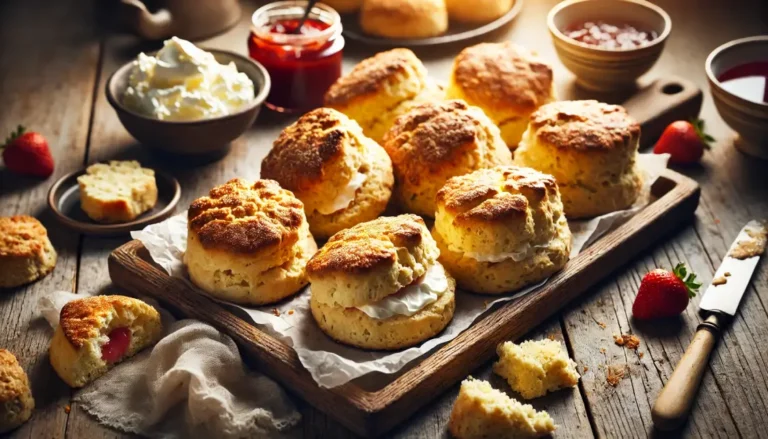
Achieving the perfect texture in savory bread is a satisfying goal for any home baker. A soft, fluffy interior paired with a golden, crisp crust can elevate a simple loaf into something truly remarkable.
But getting that perfect contrast takes more than luck — it requires the right ingredients, techniques, and a little patience.
In this guide, you’ll learn the essential steps to make savory bread that’s beautifully soft inside and irresistibly crisp outside.
Understanding the Basics of Bread Texture
Bread texture is largely influenced by three main factors:
-
Flour type
-
Hydration levels
-
Fermentation and baking methods
To master the balance, we need to understand how each component contributes to the final loaf.
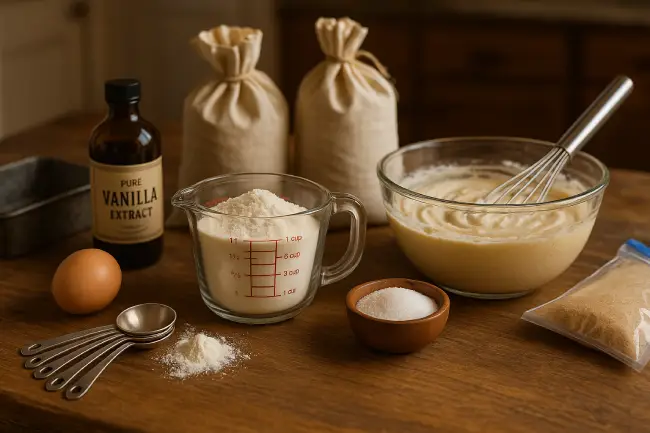
Choosing the Right Flour
Flour is the foundation of your bread, and different types of flour behave in different ways.
-
Bread flour contains more protein (gluten), which results in more elasticity and a chewier texture. This helps with both the structure and softness of the interior.
-
All-purpose flour is a bit lighter and can be used for a slightly more tender crumb.
-
For crispier crusts, avoid whole wheat or overly dense flours unless you’re aiming for a rustic finish.
Pro tip: For an extra crispy crust, try blending in a small amount of semolina or cornmeal.
The Role of Hydration
Hydration refers to the amount of water in your dough, typically expressed as a percentage of the flour weight.
-
Higher hydration (65%–75%) yields a more open, airy crumb (soft inside).
-
Lower hydration (55%–60%) gives a tighter crumb but makes the dough easier to handle.
Why this matters: A soft interior needs moisture — but if the dough is too wet, shaping becomes difficult, and the crust might not crisp properly.
Solution: Use a well-balanced hydration level (around 65%) for best results. Add ingredients like yogurt or milk for extra tenderness without compromising structure.
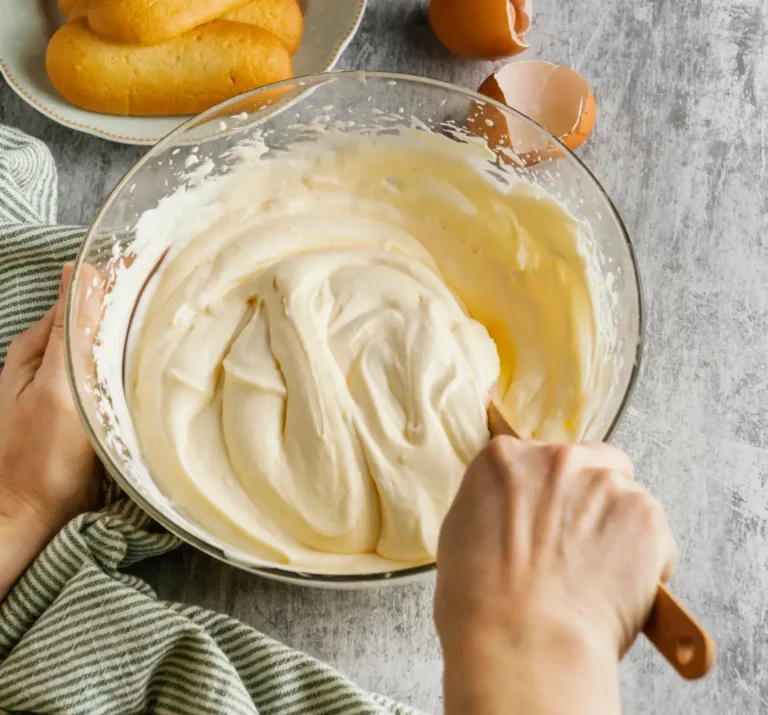
Kneading and Gluten Development
To make the inside soft and elastic, you must develop the gluten network. This is achieved by kneading — either by hand or with a mixer.
-
Knead the dough until it’s smooth, elastic, and passes the “windowpane test”: stretch a small piece — if it forms a thin membrane without tearing, it’s ready.
Don’t over-knead — especially if using a stand mixer, as this can lead to a tough crumb.
First Rise (Bulk Fermentation)
Let the dough rise in a warm, draft-free area until it doubles in size. This typically takes 1 to 2 hours depending on room temperature.
Why it’s important: Proper fermentation helps build flavor, improves structure, and traps gas bubbles — all crucial for a soft crumb.
Shaping and Final Proofing
After the first rise:
-
Gently degas the dough (don’t punch it down hard).
-
Shape it into your desired form — loaf, rolls, baguettes.
-
Let it rest again for 30 to 60 minutes.
Final proofing allows the dough to relax and rise again, giving the bread a better oven spring and a more tender interior.
Techniques for a Crispy Crust
Here’s how to make your crust truly crisp and golden:
1. Use a preheated baking stone or steel
It provides a strong burst of heat from below, helping the bottom crust to crisp quickly.
2. Bake with steam
Introduce steam into the oven during the first 10–15 minutes of baking.
How to do this:
-
Place a tray of boiling water in the bottom of the oven, or
-
Spray water inside with a mister right after you put the dough in.
Why it works: Steam keeps the outer dough soft at first, allowing it to expand. As the steam dissipates, the crust hardens and browns beautifully.
3. Finish with dry heat
During the last 10 minutes of baking, open the oven door slightly or remove the steam tray. This allows moisture to escape and the crust to crisp.
4. Brush with egg wash or milk
For a shiny, slightly crisp crust, brush the loaf with beaten egg. For a more matte finish, use milk or water.
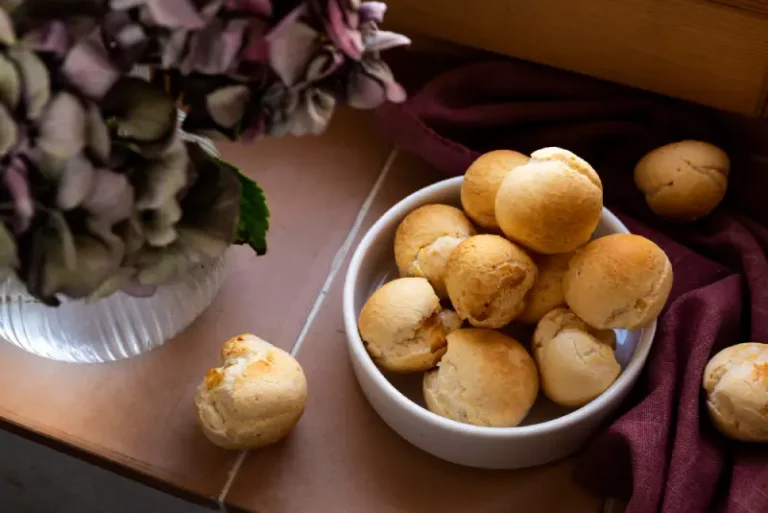
Optional Additions for Flavor and Texture
Want to take your savory bread to the next level?
-
Cheese crust: Sprinkle grated parmesan or cheddar on top before baking.
-
Seeds & grains: Add sesame, poppy, or sunflower seeds to enhance crunch.
-
Garlic butter glaze: After baking, brush with garlic butter and return to the oven for a final 3 minutes.
Cooling and Storage
After removing from the oven, let the bread cool on a wire rack for at least 20–30 minutes. This step is essential because:
-
It allows the interior to finish cooking.
-
It prevents the crust from becoming soggy due to trapped steam.
Storage tips:
-
For short-term (1–2 days), store in a paper bag at room temperature.
-
For longer storage, freeze wrapped in foil or airtight plastic.
Avoid storing in plastic at room temp, as this softens the crust.
Final Thoughts: Mastering the Art of Contrast
Savory bread that’s soft on the inside and crisp on the outside isn’t just about ingredients — it’s about technique and patience. By focusing on fermentation, hydration, heat, and steam, you can bake loaves that rival artisan bakeries.
Whether you’re making a simple dinner bread or a filled masterpiece, these tips will help you create the perfect texture every time.