How to Make Cake in a Jar for Parties: Recipe and Assembly
If you’re looking for a creative, practical, and absolutely charming dessert idea for your next event, cake in a jar is the perfect solution. This treat combines flavor, convenience, and presentation into one single container.
Whether you’re planning a birthday party, wedding, baby shower, or just want a fun gift idea, these little jars can steal the show.
In this complete guide, you’ll learn how to bake, layer, assemble, store, and serve cakes in jars that are beautiful, delicious, and 100% party-ready.
Why Cake in a Jar Is a Game-Changer for Parties
There are many reasons why cake in a jar has become so popular:
-
Portion control: Individual servings avoid slicing and mess.
-
Hygienic: Guests only touch their jar.
-
Portable: Easy to transport or gift.
-
Visually appealing: You can see the layers and colors.
-
Customizable: Endless flavor, color, and decoration options.
These benefits make them ideal for weddings, children’s parties, holiday events, and even small business sales.
What You Need to Get Started
Tools:
-
Glass or plastic jars (120 ml to 240 ml)
-
Piping bags or spoons for layering
-
Serrated knife for cutting cake layers
-
Offset spatula or butter knife
-
Decorating tools (optional ribbons, tags, or stickers)
Ingredients:
-
Cake base: Any flavor (vanilla, chocolate, red velvet, etc.)
-
Fillings: Buttercream, whipped cream, ganache, jam, fruit
-
Toppings: Sprinkles, fresh fruit, cookie crumbs, frosting swirls
You can bake your own cake or use a boxed mix if you’re in a rush. What matters most is how you layer and flavor the final dessert.
Step-by-Step: How to Make Cake in a Jar
Step 1: Bake the Cake
Choose a simple sponge cake recipe that holds up well to layering. Bake it in a rectangular sheet pan (not a loaf or round pan) for easier cutting.
Vanilla sponge example:
-
1½ cups flour
-
1 tsp baking powder
-
½ tsp salt
-
½ cup butter
-
¾ cup sugar
-
2 eggs
-
1 tsp vanilla
-
¾ cup milk
Bake at 175°C (350°F) for 25–30 minutes or until golden and firm to the touch.
Let it cool completely before cutting. You can use a round cookie cutter or slice into cubes for layering.
Step 2: Prepare the Filling
Popular fillings for cake jars include:
-
Whipped cream or stabilized whipped cream (great for fruit pairings)
-
Chocolate ganache (rich and smooth)
-
Buttercream (classic and holds well)
-
Jam or curd (adds tart contrast)
-
Mousse (elegant and soft)
Make sure your fillings are not too runny or they’ll soak into the cake. If you’re using whipped cream, consider stabilizing it with gelatin or cream cheese.
Step 3: Cut and Assemble the Cake Layers
Now comes the fun part—building the jars.
For assembly:
-
Place a layer of cake at the bottom (use cubes or a round cut).
-
Pipe or spoon in a layer of filling.
-
Add fruit, jam, or another flavor element if desired.
-
Repeat the cake and filling layers until the jar is nearly full.
-
Finish with a decorative topping like frosting, sprinkles, or fruit.
Tip: Always leave about 1 cm of space at the top for easier lid closure and to avoid mess.
Step 4: Decoration and Customization
Presentation is key—especially if the jars will be part of a dessert table or given as gifts.
Decoration ideas:
-
Pipe a swirl of frosting on top
-
Add colorful sprinkles or edible glitter
-
Tie a ribbon around the lid
-
Add personalized tags with the guest’s name or event logo
-
Use kraft paper or fabric under the lid for rustic charm
Best Flavor Combinations
Looking for inspiration? Try these crowd-pleasing combos:
-
Red velvet + cream cheese frosting + white chocolate shavings
-
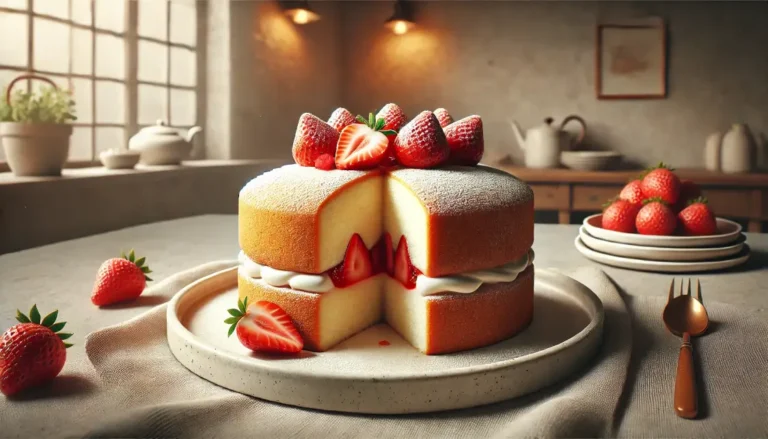
Vanilla cake + strawberry jam + whipped cream + fresh strawberry
-
Chocolate cake + dulce de leche + chocolate ganache
-
Lemon cake + lemon curd + blueberry compote
-
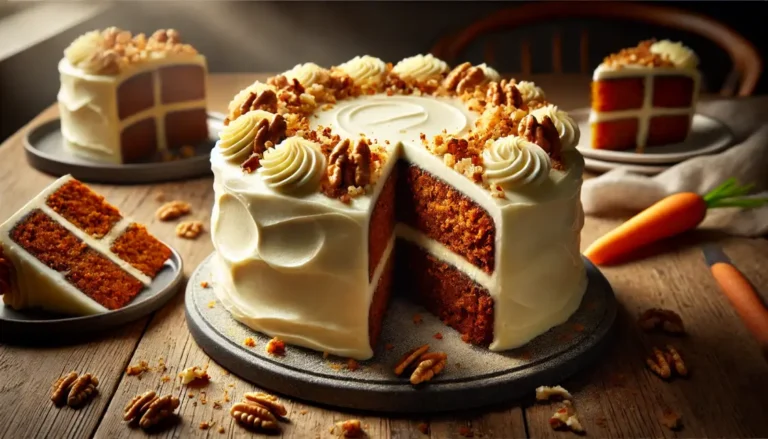
Carrot cake + cinnamon cream cheese frosting + chopped walnuts
You can also do seasonal variations, like:
-
Pumpkin cake + cinnamon mousse (fall)
-
Chocolate mint + whipped ganache (Christmas)
-
Coconut cake + pineapple curd (summer)
Storing and Serving Cake Jars
Cake jars are ideal for making ahead and saving time on the day of your event.
Storage tips:
-
Keep jars refrigerated up to 3–4 days
-
Bring to room temperature 30–60 minutes before serving for best flavor and texture
-
Do not freeze if using fresh fruits or whipped cream
Use airtight jars with screw-on lids or food-safe covers to preserve freshness.
Serving:
-
Serve directly in the jar with a spoon or small dessert fork
-
For events, place jars on a decorated tray or dessert cart
Make in Bulk: Smart Tips for Larger Quantities
Planning to make 20, 50, or even 100 jars? Here’s how to keep it manageable:
-
Bake in advance: Freeze cake layers if needed
-
Use assembly lines: Assign tasks to friends or helpers
-
Prepare fillings the day before: Store refrigerated
-
Use piping bags for speed and precision
-
Label jars by flavor for easy serving
Always test one or two jars first to get the layer amounts and proportions right before you go into mass production.
Cost-Saving Ideas
Cake jars can get expensive if you’re not careful. To cut costs:
-
Use plastic dessert containers instead of glass
-
Buy ingredients in bulk
-
Stick to 2–3 basic flavors
-
Decorate simply and avoid pricey toppers
-
Reuse clean jars or buy wholesale packs
Final Thoughts: A Delicious and Stylish Treat
Cake in a jar is a dessert that combines taste, elegance, and practicality. It offers portion control, visual appeal, and incredible versatility for all types of events. Whether you’re making five jars for family or fifty for a party, they’re guaranteed to impress.
With a little planning, the right flavors, and beautiful layering, your cake jars can become the highlight of any celebration—or even the start of a small business.