Creative Confectionery: How to Make Themed Desserts for Parties
Themed desserts are an excellent way to make any celebration even more memorable. Whether you’re hosting a birthday party, wedding, or a simple gathering with friends, adding custom-themed treats can be the highlight of the event.
In this article, we’ll explore how to make creative and themed desserts that will leave your guests in awe.
The Basics of Themed Desserts
Themed desserts are treats designed to match a specific theme or occasion. These can range from simple cupcakes with themed toppers to elaborate, multi-layered cakes that mimic the party’s colors or motif.
Here are a few key things to consider when creating themed desserts:
- Color Palette: Choose colors that match the theme of the event. For example, pastel shades for a baby shower, bold primary colors for a children’s party, or metallics for a glamorous event.
- Motif or Iconography: Use symbols or images that align with the theme, such as hearts for Valentine’s Day or stars for a celestial-themed birthday.
- Consistency: It’s important that your dessert table looks cohesive. Ensure that your desserts and their decorations tie into the overall theme.
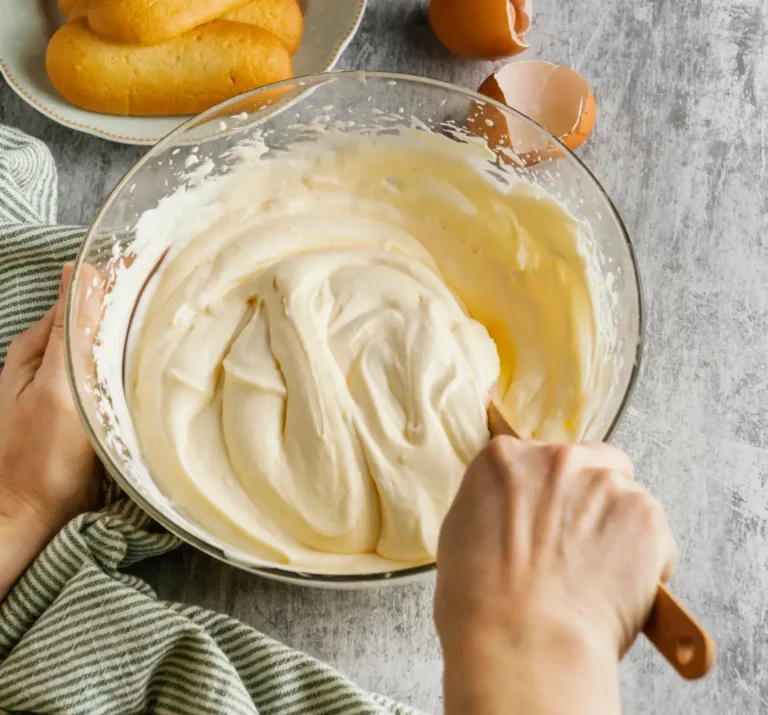
Step-by-Step Guide to Making Themed Cupcakes
Cupcakes are an ideal base for themed desserts because they are versatile, easy to decorate, and loved by everyone. Here’s a simple guide to making themed cupcakes:
Ingredients:
- 1 ½ cups all-purpose flour
- 1 ¼ cups granulated sugar
- 1 ½ teaspoons baking powder
- ½ teaspoon salt
- ½ cup unsalted butter, softened
- 2 large eggs
- 1 teaspoon vanilla extract
- ½ cup whole milk
Instructions:
- Preheat your oven to 350°F (175°C) and line a cupcake tray with paper liners.
- In a bowl, whisk together flour, sugar, baking powder, and salt.
- In another bowl, cream the butter and sugar until light and fluffy.
- Add the eggs one at a time, beating well after each addition.
- Stir in vanilla extract and gradually add the dry ingredients, alternating with the milk.
- Pour the batter into cupcake liners, filling each one about two-thirds full.
- Bake for 18-20 minutes, or until a toothpick inserted into the center comes out clean.
- Allow the cupcakes to cool completely before decorating.
Decorating Your Themed Cupcakes
Now that the cupcakes are baked and cooled, it’s time to decorate them according to the theme. Here are a few ideas:
1. Birthday Party Theme
- Decorations: Use colorful frosting, sprinkles, and edible glitter.
- Toppers: Add small fondant decorations or themed cake toppers (such as balloons, party hats, or candles).
- Frosting: Go with vibrant buttercream in different shades that match the party theme.
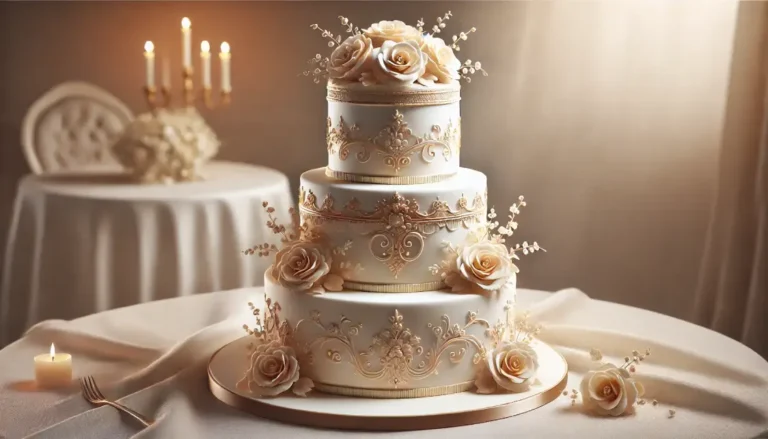
2. Wedding Theme
- Decorations: For a wedding, elegant cupcakes can be decorated with white or ivory frosting, lace designs, and pearls.
- Toppers: Use fondant flowers or sugar pearls to create an elegant, sophisticated look.
- Frosting: Consider a smooth, satin-like buttercream finish for a more formal touch.
3. Holiday Theme (Christmas, Halloween, etc.)
- Decorations: Use holiday-themed colors (red and green for Christmas, orange and black for Halloween) and incorporate season-specific decorations like candy canes, pumpkins, or snowflakes.
- Toppers: Small figurines of holiday characters or themed shapes made from fondant (like a Santa hat or pumpkin).
- Frosting: Match the frosting to the holiday theme. For Halloween, you could use orange buttercream, and for Christmas, a white or red finish.
4. Baby Shower Theme
- Decorations: Soft pastels such as light blue, pink, or mint green are common choices.
- Toppers: Use baby-themed toppers like onesies, baby bottles, or tiny shoes, all made from fondant or edible decorations.
- Frosting: Light, fluffy buttercream in pastel colors works well for a gentle, sweet look.
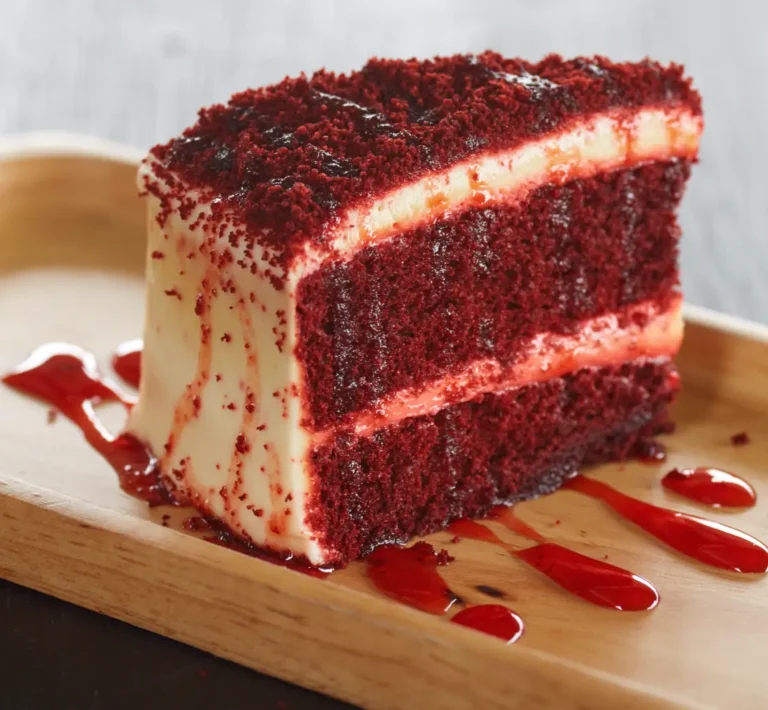
Creating Themed Cakes for Special Occasions
While cupcakes are perfect for most occasions, sometimes a larger, more elaborate dessert is needed. Themed cakes are fantastic for special events like weddings or milestone birthdays. Here are some tips for making a themed cake:
1. Choose Your Theme
- Consider the occasion. For a wedding, you might want a sophisticated, tiered cake with elegant flowers or lace designs. For a child’s birthday, you could make a cake shaped like their favorite animal or cartoon character.
2. Plan Your Layers and Flavor
- Layered cakes are visually impressive and can be decorated with multiple tiers. Be sure to choose a flavor that complements the theme. For example, a lemon cake with raspberry filling could work well for a springtime event, while a rich chocolate cake is perfect for a celebration in the winter months.
3. Decorate According to the Theme
- You can create fondant decorations that match your theme. If you’re making a cake for a wedding, consider using delicate fondant flowers, pearls, and lace-like designs.
- For a birthday cake, try using vibrant colors and fun shapes like stars, balloons, or even a custom cake topper featuring the guest of honor’s name.
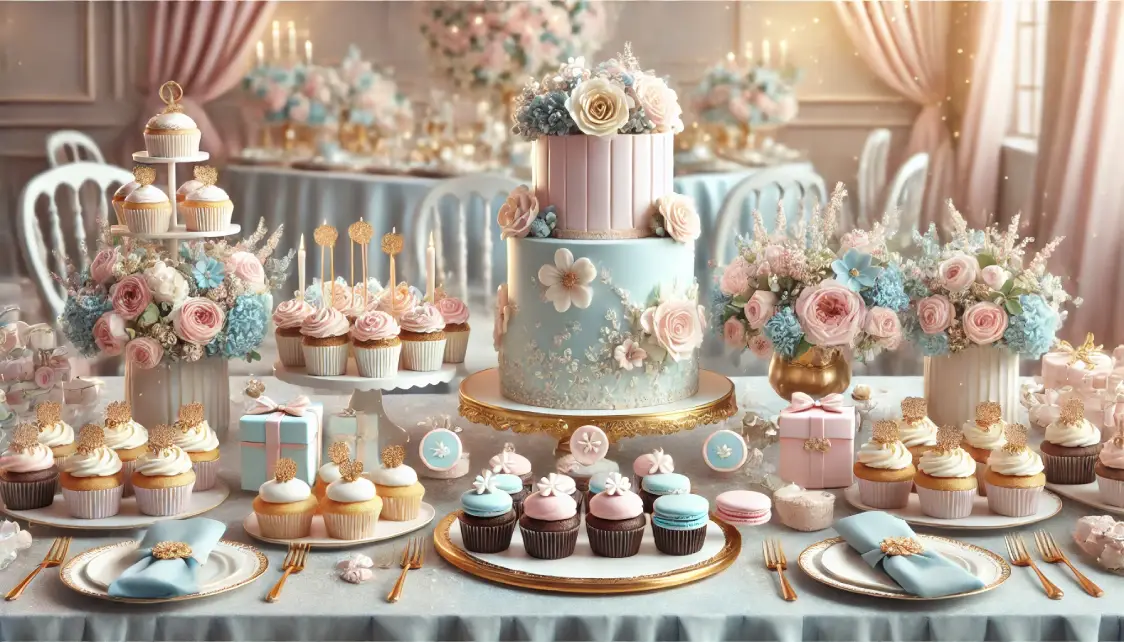
Creative Dessert Table Ideas
A themed dessert table is an excellent way to display your creative confections and elevate the entire event. Here are a few tips for styling a dessert table:
- Table Decor: Use tablecloths and napkins that match your color scheme. Add some elegant touches like candles, flowers, or small decorative items.
- Variety: In addition to cupcakes and cakes, consider including cookies, candies, and fruit to add variety. For example, decorated sugar cookies, chocolate-dipped strawberries, and macarons are beautiful and tasty additions.
- Themed Signage: Label your desserts with cute name cards or labels that fit the theme of the event.
Conclusion
Themed desserts are an excellent way to add a personal touch to any event. Whether you’re making cupcakes for a child’s birthday, a sophisticated cake for a wedding, or a whimsical dessert table for a baby shower, there are endless ways to express creativity through confections. By following the tips and recipes in this article, you’ll be able to create themed treats that your guests will love and remember for years to come.