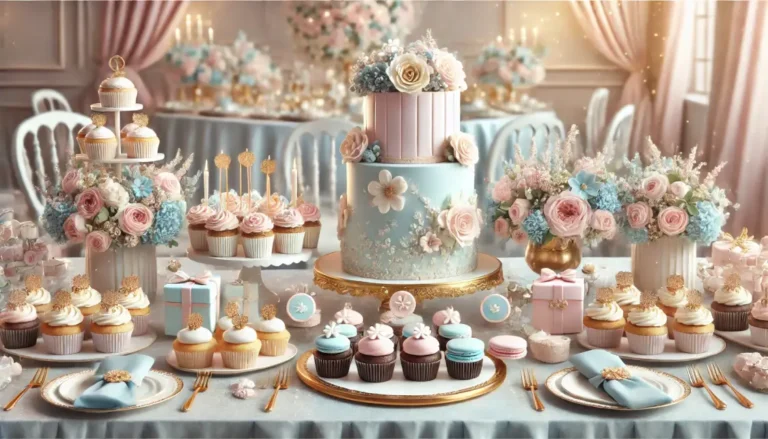
How to Create a Multi-Tier Wedding Cake: Advanced Techniques in Confectionery
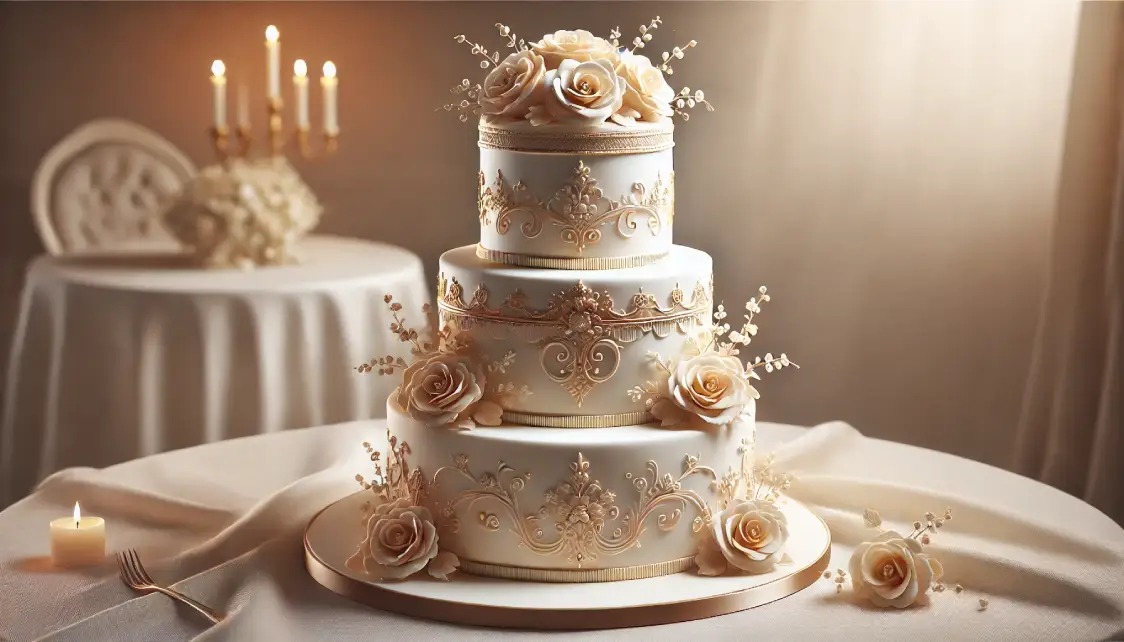
Creating a multi-tier wedding cake is a true masterpiece in the world of confectionery. This grand dessert is the centerpiece of many weddings and can become a stunning visual and culinary highlight of the celebration.
However, building a wedding cake with multiple tiers involves advanced techniques and skills. This guide will walk you through the process of creating a beautiful and stable multi-tier cake that will impress every guest.
Choosing the Right Cake Recipe
The foundation of a multi-tier wedding cake begins with selecting the right cake recipe. The type of cake you choose will depend on the couple’s preferences and the overall style of the wedding. Popular choices for wedding cakes include:
- Vanilla Sponge Cake: Light and airy, this cake provides a perfect balance for rich fillings and frosting.
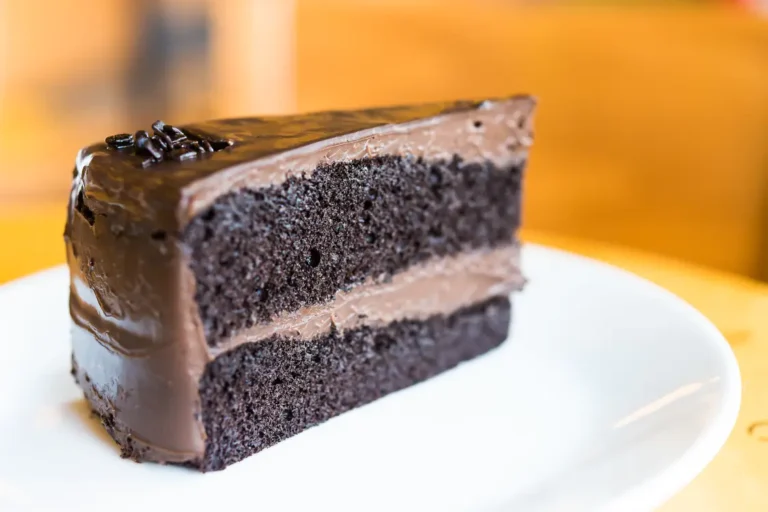
- Chocolate Cake: For chocolate lovers, this dense, moist cake is ideal when paired with complementary flavors like raspberry or ganache.
- Fruit Cake: A traditional choice, especially for winter or holiday weddings, fruit cakes are filled with dried fruits, nuts, and spices.
- Carrot Cake: Moist and flavorful, carrot cake is often paired with a cream cheese frosting for a rich, tangy flavor.
When selecting a recipe, make sure that the cakes can hold up well when stacked and have a sturdy crumb that can support the weight of the tiers.
Baking the Tiers
Step 1: Choose the Right Cake Sizes
Wedding cakes typically consist of three or more tiers, with each tier being a different size. Common sizes are:
- Top Tier: 6 to 8 inches in diameter
- Middle Tier: 10 to 12 inches in diameter
- Bottom Tier: 14 to 16 inches in diameter
Keep in mind that the larger the cake, the more batter and baking time you’ll need. Ensure that your oven can accommodate the size of the pans you choose.
Step 2: Bake Each Tier Separately
Bake each tier separately to ensure that they cook evenly and are easy to handle. Use cake pans that are deep enough to allow for even rising. After baking, let the cakes cool completely before attempting to move them.
Step 3: Level the Cakes
Once the cakes are completely cooled, you’ll need to level them using a serrated knife or cake leveler. This step is crucial to ensure that your tiers are flat and can stack evenly. Trim the tops of the cakes to remove any domed shape.
Assembling the Multi-Tier Wedding Cake
Step 1: Use Cake Boards and Dowels for Support
For a multi-tier cake, support is essential to prevent the weight of the upper tiers from crushing the lower ones. Here’s how to properly set up the tiers:
- Cake Boards: Use cake boards that are slightly smaller than the size of each tier. Place each tier on a cake board for stability and to make the cake easier to move.
- Dowels: Insert dowels (cake supports) into the lower tiers to support the weight of the upper tiers. The number of dowels will depend on the size and weight of each tier. Cut the dowels to match the height of the tier.
Place the dowels carefully in the center of the lower tiers, and arrange them evenly to distribute the weight.
Step 2: Stack the Tiers
Carefully stack the cakes, starting with the largest tier at the bottom. Use a cake lifter or a wide spatula to lift and move the tiers onto the base or the tier below.
Be sure that each tier is centered perfectly on the one beneath it. Once all the tiers are stacked, gently press down to ensure they are secure.
Step 3: Frosting and Decorating
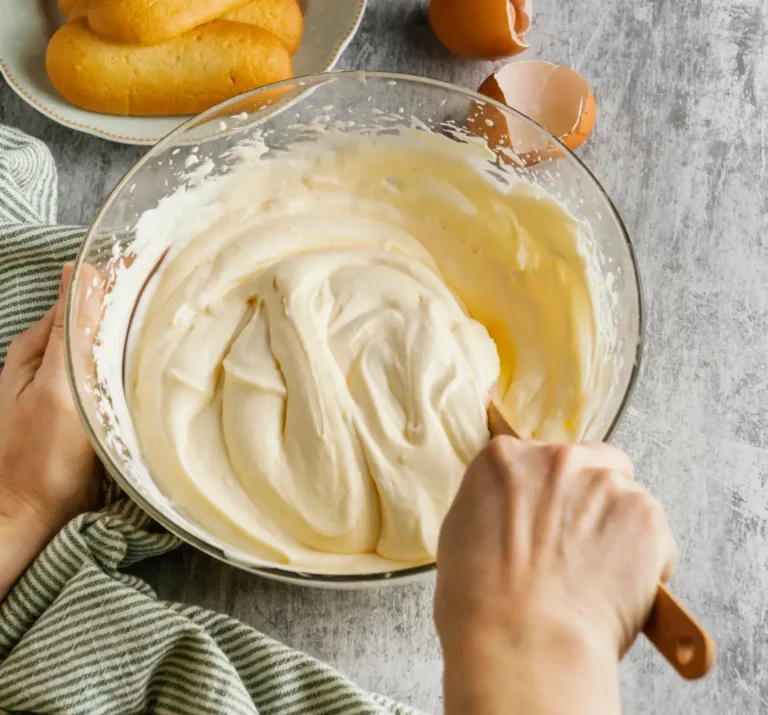
Now comes the fun part: decorating! You can choose from various frosting options, including buttercream, fondant, or ganache. Here’s how to achieve a smooth finish:
- Crumb Coat: First, apply a thin layer of frosting to each tier to seal in any crumbs. This is called a crumb coat. Chill the cake for 30 minutes to firm up the crumb coat before adding the final layer of frosting.
- Final Coat: Apply a thicker layer of frosting or fondant to smooth the cake’s surface. Use a bench scraper or offset spatula to smooth the sides of the cake. If you’re using fondant, roll it out to the desired thickness and drape it over the cake before smoothing out any air bubbles.
Step 4: Adding Decorative Details
Wedding cakes are known for their stunning decorations. Here are some popular design ideas:
- Flowers: Fresh flowers or edible flowers can add an elegant touch to the cake. Make sure to use non-toxic flowers and insert them into a clean plastic tube if using fresh flowers.
- Sugar Flowers: These are edible flowers made from fondant or gum paste. They can be crafted to mimic real blooms and add a delicate, detailed element to your cake.
- Piping Designs: Intricate piping designs can add texture and beauty. Use a piping bag with different nozzles to create decorative borders, rosettes, or lace patterns.
Transportation and Storage
Transporting a multi-tier wedding cake can be tricky, so it’s essential to take extra care:
- Transporting the Cake: If you’re transporting the cake to a venue, make sure the tiers are securely stacked. Use a sturdy box or cake carrier to prevent shifting during the journey.
- Storage: If the cake isn’t being served immediately, store it in a cool place. If you’re using fondant, avoid refrigerating the cake as it can cause condensation and ruin the finish.
Final Thoughts
Creating a multi-tier wedding cake is an intricate process, but with patience and attention to detail, you can craft a stunning cake that will be the highlight of any wedding.
Whether you’re a professional baker or an ambitious home baker, the key to success is preparation, support, and artistic flair.
With the right techniques, your multi-tier cake will not only look beautiful but also taste incredible, making it a truly memorable part of the celebration.